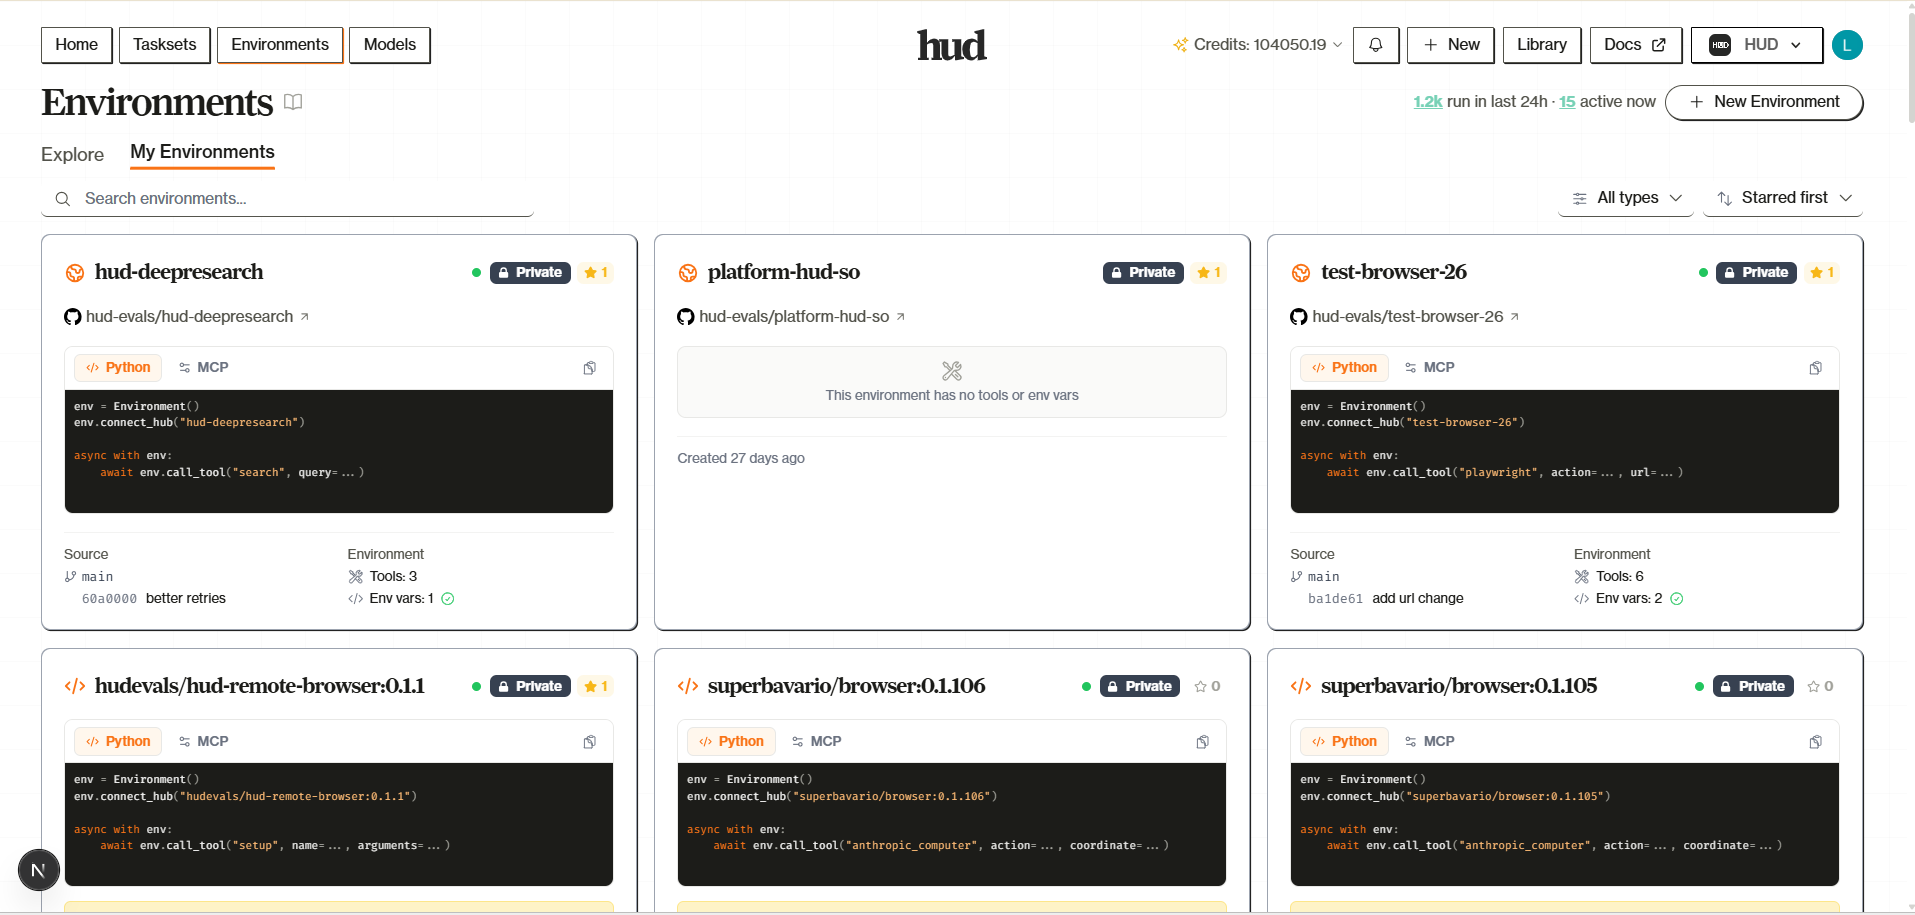
The Environments page at hud.ai/environments is where you deploy, configure, and monitor your agent environments. Connect a GitHub repo, deploy via CLI, or import a Docker image — then configure environment variables and see live build status.Documentation Index
Fetch the complete documentation index at: https://docs.hud.ai/llms.txt
Use this file to discover all available pages before exploring further.
Overview
Navigate to Environments to see two main tabs:- Explore — Browse public environments from the community
- My Environments — Environments you’ve created or deployed
Creating an Environment
Click New Environment to create one. You have three options:Import from GitHub
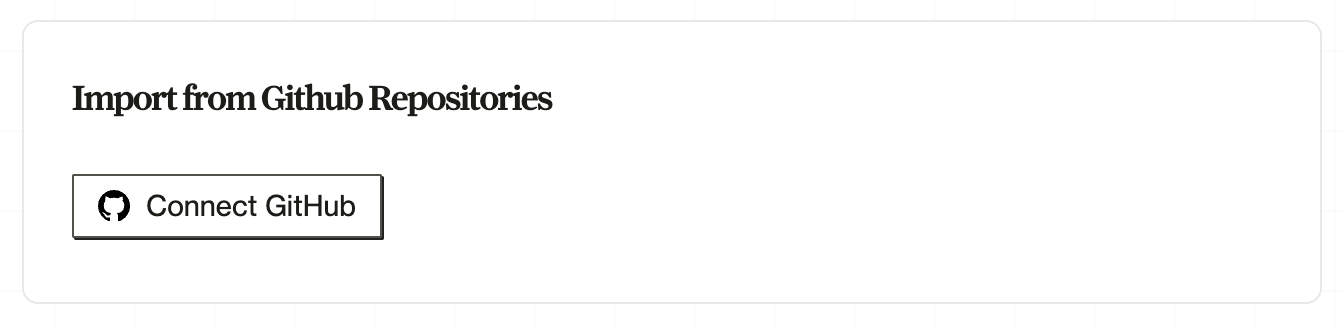
Connect a GitHub repository containing your environment code.Connect GitHub
First, connect your GitHub account by installing the GitHub App:- Click Connect GitHub to install the HUD GitHub App
- You’ll be redirected to GitHub to authorize the installation
- Choose repository access:
- All repositories — HUD can build from any repo in your account
- Only select repositories — Grant access to specific repos
You can change repository access later in your GitHub settings.
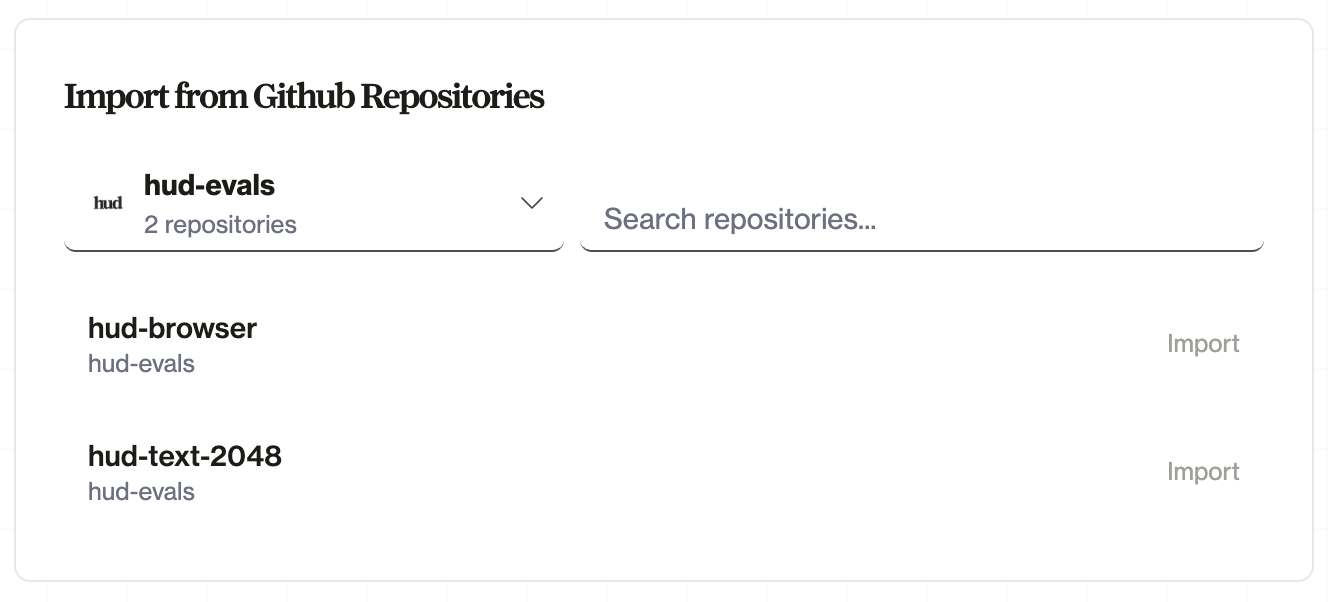
Build from Repository
Once GitHub is connected:- Select a repository from the list
- Choose a branch (defaults to
main) - Click Import
Automatic Rebuilds
HUD automatically rebuilds your environment when you push changes to the connected branch. To manually trigger a rebuild, go to the Builds tab and click Rebuild.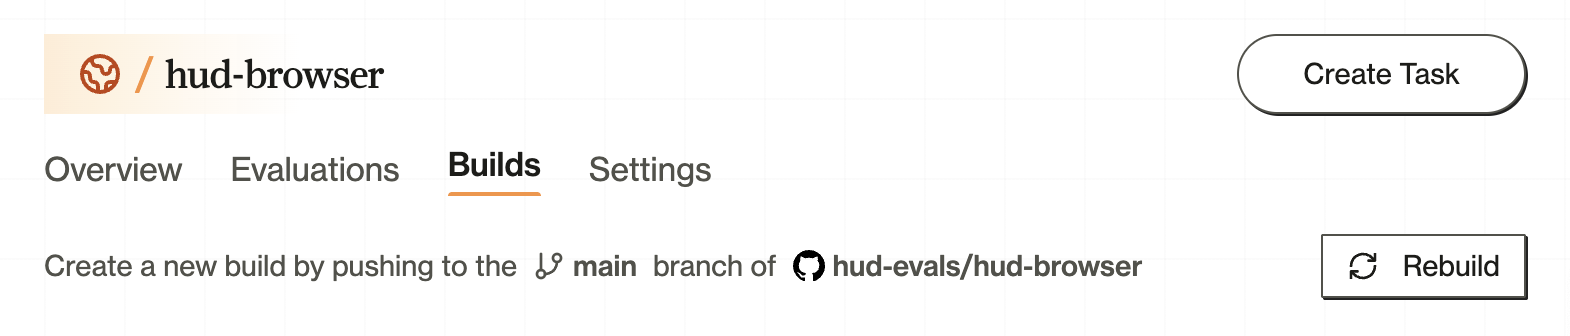
Create from Template
Start from a pre-built template:- Blank Environment — Minimal starter for creating custom environments from scratch
- Deep Research — Advanced research environment with Exa search integration
- Rubrics — Environment for creating and evaluating with rubrics (TLDC methodology)
- Browser — Local browser automation environment
- Remote Browser (Anchor) — Cloud browser automation with Anchor, Steel, Browserbase, and Kernel providers
- Coding — Full-featured coding environment with language servers, linters, and development tools
Deploy via CLI
For automated pipelines or local deployments, you can deploy directly via CLI:hud deploy for details.
Develop Locally First
The creation page also includes an expandable Develop an Environment Locally tutorial that walks through:hud init— Create a new environment from a templatehud dev— Run locally with hot-reload- Edit tools in
controller/tools.pyusing@mcp.tool hud deploy— Deploy directly to the platform, or push to GitHub and import for automatic rebuilds
Environment Details
Click on an environment to see its detail page. The available tabs depend on ownership and registry type:| Tab | Shown for |
|---|---|
| Overview | Always |
| Scenarios | Always |
| Builds | Owners (GitHub-connected and CLI-deployed) |
| Files | Owners with a connected GitHub repository |
| Settings | Owners |
Public environments viewed by non-owners only show the Overview and Scenarios tabs.
Overview Tab
The main landing page is a rich detail view with two columns: Left side:- Editable description — Owners can add/edit a description for the environment
- Info section — Source (GitHub repo link or “Deployed via CLI”), visibility, build status, branch/commit info, linked evalsets
- Recent Builds — Quick summary of the last few builds with status badges
- Env var warning — If required environment variables are missing, a warning banner links to Settings
- Scenarios — Inline scenario cards showing name, description, and run counts. Click a scenario to select it.
- Tools — Horizontal scrollable gallery of tool cards showing name, description, and input schema
- Integrations — Code snippets for using the environment via the SDK or CLI
- Configure — Set environment variables and select a scenario to run
- Scenario Runner — When a scenario is selected, shows integration options
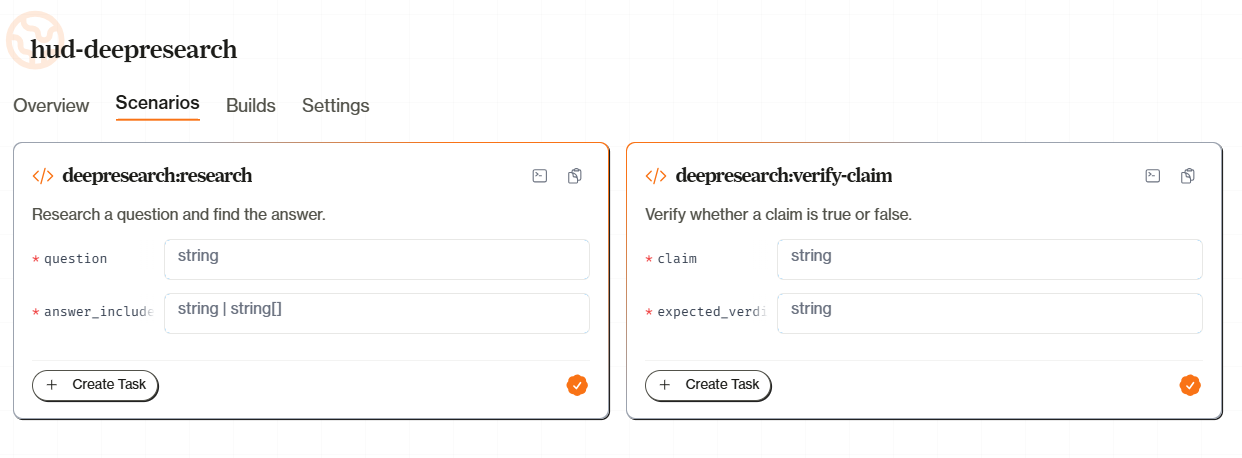
Scenarios Tab
Lists all scenarios defined with@env.scenario():
- Name — The scenario identifier
- Description — What the scenario tests
- Arguments — Required parameters
Builds Tab
Shows build history and status for both GitHub-connected and CLI-deployed environments:- Status — Building, Success, or Failed
- Duration — How long the build took
- Commit — Git commit that triggered the build (for GitHub builds)
- Logs — Click to view full build output
Files Tab
Browse the source code of GitHub-connected environments directly in the browser. Shows a file tree and source viewer for the connected repository and branch.The Files tab is only available for environments with a connected GitHub repository.
Settings Tab
Configure your environment:- Display Name — How it appears in the UI
- Build Settings — Branch and entry folder
- Environment Variables — Secrets and configuration (see below)
Environment Variables
Many environments need API keys or configuration. Add them in Settings:- Go to your environment’s Settings tab
- Find the Environment Variables section
- Add key-value pairs for each variable
- Click Save
Lock File Variables
If your environment has ahud.lock file defining required variables, Settings will show which ones are missing. You’ll see warnings until all required variables are configured.
Using Environments
Once deployed, use your environment in evaluations:Troubleshooting Builds
| Issue | Solution |
|---|---|
| Repository not appearing | Check that you’ve granted HUD access in GitHub settings |
| Build fails immediately | Verify your Dockerfile exists in the repository root or check the build logs |
| Docker Hub rate limit error | Save your Docker Hub credentials in settings |
| Build times out | Reduce image size or use multi-stage builds |
hud debug.
Debugging Traces
When viewing a trace (task run), the environment pane on the right side provides powerful debugging tools through two special tabs:DEBUG Tab
The DEBUG tab shows low-level information about the environment and agent execution:- Environment Info — Container ID, pod status, and connection details
- MCP Operations — All MCP protocol messages including prompts, resources, and internal operations that aren’t tool calls
- Raw Attributes — Expand any operation to see the full request/response payload
- Worker Logs (Admin only) — Server-side logs from the Celery worker that executed the rollout
- Why a scenario setup or evaluation failed
- MCP protocol issues between the agent and environment
- Authentication or connection problems
- Server-side errors that don’t surface in the agent trace
LOGS Tab
The LOGS tab shows container stdout/stderr from the environment:- Real-time streaming — Logs update as the environment runs
- Timestamp filtering — See when specific events occurred
- Error highlighting — Errors and warnings are visually distinct
- Environment startup issues
- Tool execution failures
- Python exceptions in your environment code
- Resource exhaustion (memory, CPU, disk)
Accessing Debug Information
- Open any trace at
hud.ai/trace/{id} - Look at the environment pane on the right side
- Click the DEBUG or LOGS tab at the top
- For MCP operations in DEBUG, click the expand icon to see full payloads
Worker logs in the DEBUG tab are only visible to platform administrators. Regular users see environment logs in the LOGS tab.
Next Steps
Build Environments
Learn the environment SDK
Deploy Guide
Push your environment to production
File Tracking & Code Viewer
View file changes in traces with syntax highlighting and diffs